How to Safely Pack and Ship Your Pipes for Restoration

How to Safely Pack and Ship Your Pipes for Restoration
We’ve all been there. You’re browsing an online auction, or maybe poking through a dusty corner of an antique mall, and you find it. The “diamond in the rough.” Maybe it’s a classic shape you’ve been hunting for years, or perhaps it’s a high-grade piece that needs a little professional love to shine again. Or, let’s be honest, maybe it’s your favorite daily smoker that finally reached the point where the stem is more “oxidized green” than “shiny black.”
Whatever the reason, once you decide that your pipe needs professional attention, the next question is always: “How do I get this safely to the shop?”
At Briarville, we like to say that professional pipe restoration is as close as your mailbox. It’s a service we’ve refined over the years to make sure the process is as painless as possible for you and as safe as possible for your prized briar. But, as with anything in this hobby of ours, there’s a right way and a wrong way to do things.
We’ve seen some… interesting… packing jobs over the years. (And by “interesting,” I mean the kind that makes us hold our breath while we open the box). So, we thought we’d put together a friendly guide to packing and shipping your pipes so they arrive at our shop ready for their makeover, without any added “adventure” along the way.
Why Shipping Shouldn’t Be Scarier Than a Ghosted Bowl
Sending your favorite pipe through the mail can feel a bit like sending a kid off to summer camp for the first time. You’re excited for the results, but you’re a little nervous about the journey. Will it get lost? Will it get crushed? Will the postal service play football with the box?
Relax. We do this every single day. If you follow a few simple steps, shipping a pipe is actually incredibly safe. We’ve had thousands of pipes come through our doors, and the ones that are packed correctly always make it through just fine.
Step 1: Give it a Basic “Once Over”
Before you even grab the bubble wrap, take a quick look at your pipe. You don’t need to do a full deep clean; that’s what you’re paying us for, after all! But please, please empty the bowl.
Sending a pipe that’s still half-full of “yesterday’s dottle” is, well, just gross. It can also shift during shipping, getting ash and debris into the shank or all over the inside of your packaging. A quick scrape with your pipe tool to ensure the bowl is empty is all we ask. If you’re curious about what we do once it gets here, you might want to check out our thoughts on tobacco pipe restoration after the auction.
Step 2: The Great Disconnection (Separate the Stem!)
This is arguably the most important tip we can give you. Separate the stem from the bowl before you wrap it.
Why? The joint where the tenon meets the mortise is the most vulnerable part of the pipe. If the pipe is shipped fully assembled and the box takes a hard hit or gets dropped, the stem’s leverage can snap that tenon right off inside the shank. That turns a simple cleaning job into a much more involved repair.
Take the stem out. (Make sure the pipe is cool before you do this, though most pipes being shipped for repair usually are!) Pack the stem and the bowl side by side. This way, there’s no stress on the joint during transit.

Step 3: The “No Tape” Golden Rule
If there is one thing we want you to take away from this post, it’s this: Never, ever wrap your pipe directly in tape.
We see this all the time. A well-meaning pipe owner wants to make sure the pipe is “secure,” so they wrap it in layers of bubble wrap and then encase the whole thing in heavy-duty packing tape. Or worse, they tape the pipe directly to a piece of cardboard.
Here’s the problem: when that package arrives at our shop, we have to get the pipe out. If it’s encased in a “tape mummy,” we usually have to use a razor or a sharp knife to cut through the layers. One slip of the blade, and suddenly your beautiful briar has a fresh, deep scratch that wasn’t there before.
Wrap your pipes in paper or bubble wrap, then tape the wrapping to itself, not the pipe. You want us to be able to slide the pipe out or unroll the wrap without needing surgical tools to reach it.
Step 4: The Identify-Yourself Note
This might sound like a “no-brainer,” but you would be surprised how often we receive a box containing three pipes and… nothing else—no name, no return address inside, no instructions.
Labels on the outside of boxes can get scuffed, wet, or torn off by sorting machines. If the outer label is unreadable and there’s no note inside, we have a “mystery box” on our hands. We then have to wait for someone to call us to ask if their pipes have arrived, which slows everything down.
Always include a piece of paper inside the box with your:
- Full Name
- Shipping Address
- Phone Number
- Email Address
- A quick note about what you’d like done (e.g., “Full restoration,” “New stem fitting,” or “Please fix this tooth hole!”)
It makes our lives so much easier and ensures your pipes get into the queue immediately.

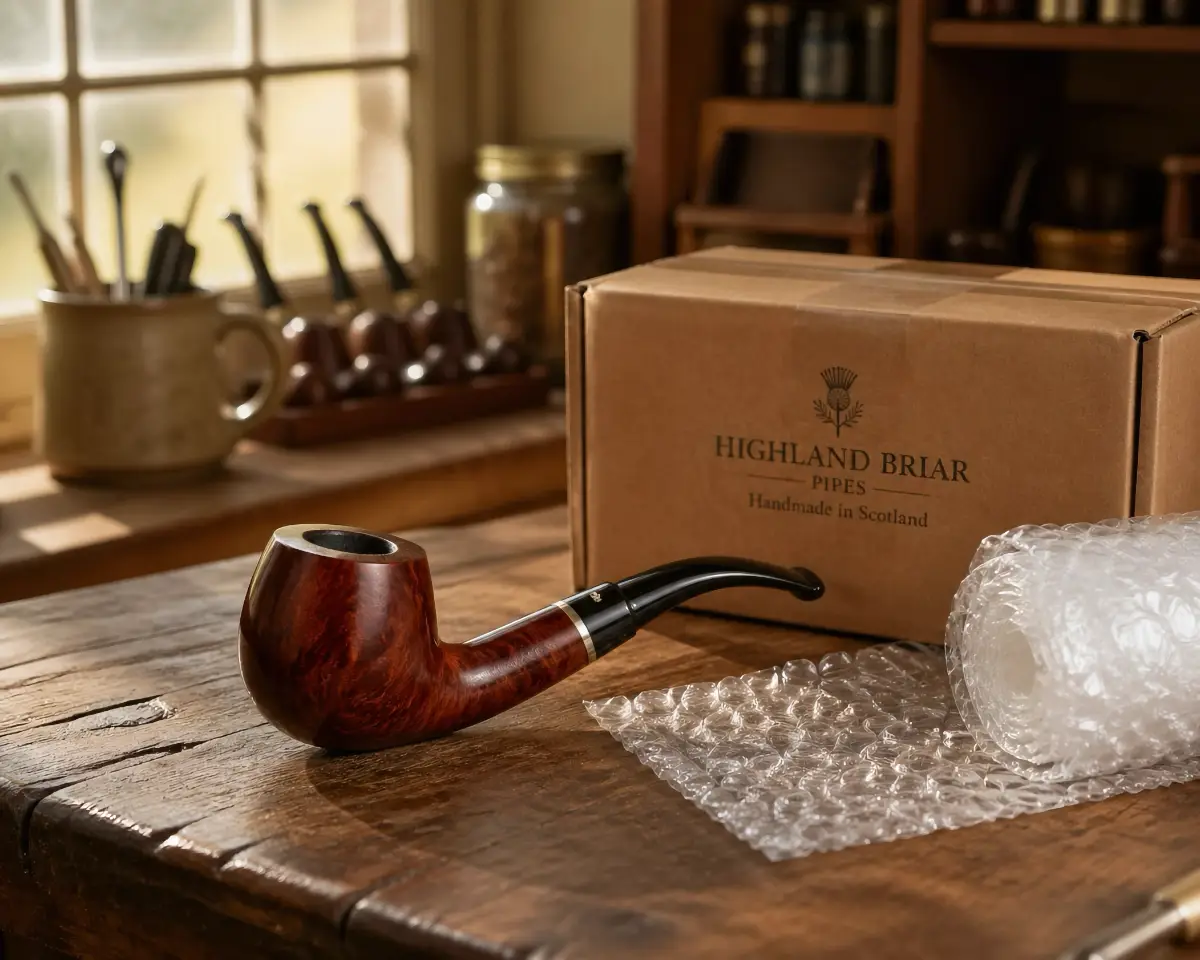
Step 5: Choosing the Right Box
Size matters here. You don’t want a box so small that the pipe presses against the sides, but you also don’t want a box so big that the pipe rattles around like a spray paint can.
A sturdy corrugated box is a must. Padded envelopes? Don’t even think about it. An envelope offers zero crush protection, and we’ve seen some heartbreakingly flattened pipes arrive that way.
Use enough packing material, bubble wrap, crumpled newspaper, or packing peanuts so that when you shake the closed box, you don’t feel anything moving inside. If the pipe is stationary, it’s safe.
If you are sending something particularly rare or valuable, you might even consider “double boxing”, placing the pipe in a small box with padding, and then placing that small box inside a larger one with more padding. It’s the gold standard of shipping safety.
Step 6: Tracking and Insurance
We always recommend using a shipping service that provides a tracking number. Whether it’s USPS, UPS, or FedEx, having that number gives you peace of mind knowing exactly where your “babies” are on their journey to us.
Insurance is also a good idea for higher-end pieces. While shipping damage is rare when things are packed correctly, it’s better to have it and not need it than the other way around.

What Happens Next?
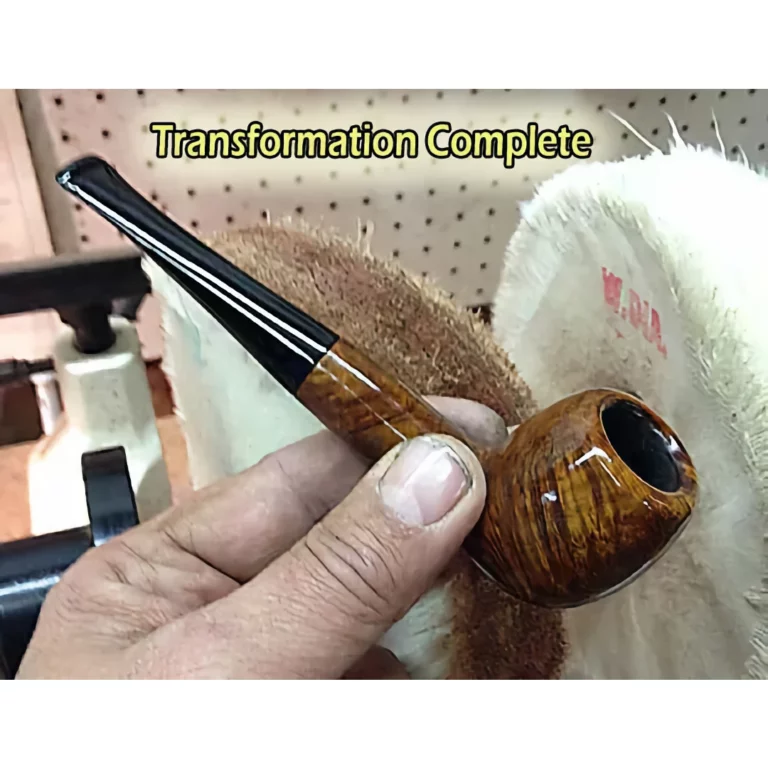
Once your pipes arrive at Briarville, we treat them with the respect they deserve. We know these aren’t just “objects”; they are tools for relaxation and often hold great sentimental value.
If you sent them in for a custom stem, we’ll be busy hand-fitting a preformed blank to match your pipe’s lines perfectly. If you’re curious about the different materials we use for those, take a peek at our breakdown of acrylic vs. vulcanite pipe stems.
We’ll check them in, look over your notes, and get to work making them look and smoke like new again. Our goal is to make the “Pipe Repair as Close as Your Mailbox” experience so easy that you’ll never hesitate to keep your collection in top-tier shape.
Wrapping It Up (Pun Intended)
Shipping your pipes doesn’t have to be stressful. Just remember:
- Empty the bowl (please!).
- Separate the stem from the shank.
- Use plenty of padding.
- No tape on the pipe!
- Include your contact info inside the box.
- Use a sturdy box and a tracking number.
It’s a simple process that ensures your favorite smokers get the care they need without any mishaps. Whether you’re a seasoned collector or you’re new to pipe smoking, we’re here to help you keep those pipes in the rotation for years to come.
We’re looking forward to seeing what you’ve got in your collection. When you’re ready, fire up a bowl of your favorite blend, pack your project pipes according to these tips, and head to the post office. We’ll take it from there!